Recessed LED floor channels are a new product in modern lighting design and a key factor in ensuring the aesthetics, durability. And compliance of lighting systems in high-end commercial projects. Many users choose recessed floor LED aluminum channel for their aesthetic appeal. Let’s learn about recessed LED floor channels and how to properly install them to ensure their safety and optimal performance. More information, pls read How to Choose the Floor LED Aluminum Profiles?
Why are Recessed Floor LED Aluminum Channel the Preferred Choice for High-end Renovations?
When choosing lighting solutions, lighting wholesalers seek not only excellent lighting effects but also long-term return on investment and risk mitigation. Recessed floor LED aluminum channel offer a core advantage over traditional surface-mounted light strips in this regard.
Durability and Structural Integrity
Aluminum itself possesses excellent strength and corrosion resistance, capable of withstanding continuous foot traffic and equipment pressure in commercial environments. Ensuring the lighting system remains stable under high pressure.
Highly Efficient Heat Dissipation
LED lifespan is directly related to operating temperature. The aluminum channel, acting as a natural heat sink, quickly dissipates heat generated by the LED strip, effectively slowing down light decay. This translates the theoretically long lifespan of LEDs into practically low maintenance costs, crucial for commercial projects where uninterrupted operation is difficult.
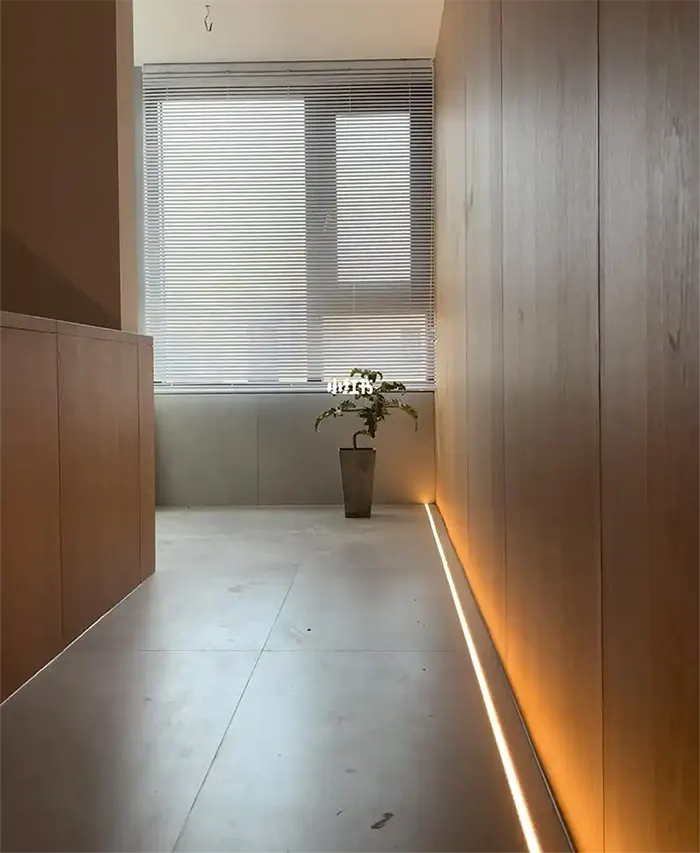
Visual and Safety Benefits
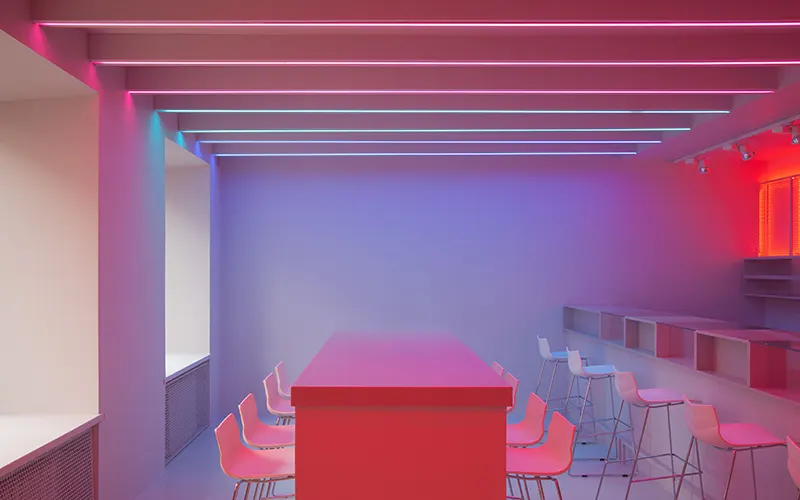
Recessed installation flush with the ground eliminates tripping risks and creates clean, pure light guide lines. Combined with a diffuser, the light is soft and even, avoiding glare. And greatly enhancing the modern and professional feel of the space.
High structural stability
Recessed floor LED aluminum channels can be designed to achieve high IK and IP ratings. Making them suitable for withstanding the pressure of pedestrians and even light vehicles, far safer and more durable than ordinary LED light strips.
Material Preparation Before Installing a Recessed Floor LED Aluminum Channel
To ensure the long-term safe use of Recessed Floor LED Aluminum Channel, thorough planning is essential. Pre-construction preparation is crucial:
On-site Survey and Design Confirmation
Structural Assessment: Confirm whether the floor is concrete, tile, or wood flooring. As this directly affects the choice of grooving method and fixing materials.
Environmental Inspection: Assess the installation area for moisture and water seepage risks to determine the required waterproofing level.
Drawing Review: Confirm the wiring diagram, length, and distance to the power supply point of the aluminum channel with the designer and project manager.
Professional Materials List Preparation
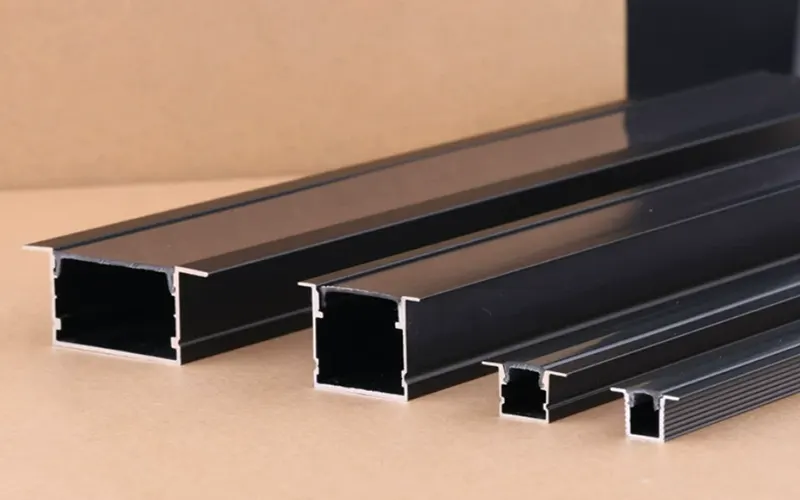
- Core Materials: Select a suitable aluminum profile model and size for the Recessed Floor LED Aluminum Channel. Ensuring its wall thickness is sufficient to withstand the load.
- LED Strip: Match the aluminum channel dimensions and calculate the total power. A 24V strip is recommended to reduce voltage drop. And ensure consistent color temperature and color rendering index (CRI ≥ 90).
- Electrical Components: Matching waterproof LED power supply, controller (if dimming and color adjustment are required), waterproof connectors, solder wire/solderless sleeve.
- Auxiliary Materials: High-quality stone-specific epoxy resin AB glue (do not use glass glue. As its adhesion and durability are insufficient), neutral silicone sealant, end caps, diffuser.
- Professional Tools: Laser level, angle grinder or stone cutter, multimeter, heat gun, glue gun, etc.
Step-by-Step Guide to Safe Installation of Recessed Floor LED Aluminum Channel
Grooving and Positioning
Based on the final approved drawings, use a laser level to precisely mark the positioning lines on the floor surface.
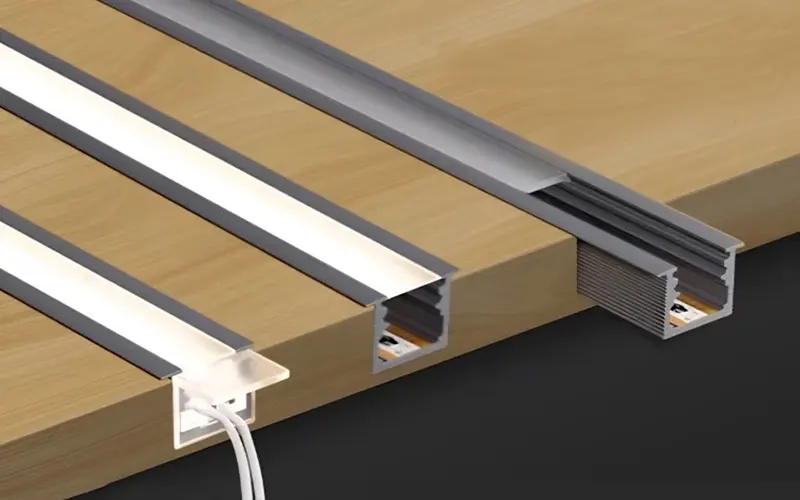
Use an angle grinder fitted with a stone-cutting blade to cut the groove. Key point: The groove depth must equal the “height of the aluminum channel + thickness of the adhesive layer,” and the groove width must be slightly wider than the aluminum channel to allow space for the adhesive.
Exercise extreme caution to avoid cutting into any embedded pipes or steel reinforcement bars within the floor. After cutting the groove, thoroughly clean out all dust and debris, ensuring the bonding surfaces are dry and clean.
Cutting and Securing the Aluminum Channel
Cut the aluminum channels to the required lengths, ensuring that the cut edges are meticulously ground smooth. Remove all burrs to guarantee a smooth and seamless fit for the end caps and diffusers during subsequent installation.
Apply an even layer of epoxy resin adhesive to the interior of the cleaned channel; then, insert and firmly press the aluminum channel into place. Use a spirit level to repeatedly verify that the top surface of the channel sits perfectly flush with the final finished floor surface.
Circuit Connection and Insulation
Cut the LED light strips to the planned length, cutting only at the designated marks. Use waterproof butt connectors to join the strips, or solder the connections and cover them with heat-shrink tubing for protection.
Firmly insert all connection points into the waterproof connectors, then tighten the locking mechanisms to ensure a watertight seal.
Sealing and Finished Product Protection
Apply a neutral silicone sealant to meticulously seal the joints between the aluminum channel and the floor on both sides. This measure serves not only to prevent moisture and dust ingress but also to mitigate the stresses caused by thermal expansion and contraction.
Install the end caps and the diffuser cover. The diffuser cover effectively protects the LED beads while ensuring that the emitted light is softer and more uniform.
During subsequent flooring work (such as stone polishing) and the project’s final completion phase. The installed aluminum channels must be covered and protected to prevent scratches, contamination, or damage from heavy objects.
Load and Pressure Testing
A final comprehensive test must be conducted after all groundwork is completed and before delivery to the customer.
- Load Testing: Simulate maximum expected pedestrian traffic or load over a sustained period to check for structural stability, ensuring no loosening, deformation, or abnormal noise.
- Pressure Testing: Conduct foot-traffic and pressure tests, especially at commercial project entrances, walkways, and outdoor paved areas. If the project allows vehicular traffic, a dynamic load-bearing test is required to ensure the aluminum channel remains stable and undeformed.
- Functional Testing: Perform a long-term (e.g., 8-12 hours) aging test with power on to check for flickering, dark areas, overheating, or controller malfunction.
Conclusion
Recessed floor LED aluminum channel are a crucial project for upgrading lighting and enhancing safety in modern commercial spaces. The professionalism and safety requirements for installation far exceed those of ordinary LED strip installations. Through proper planning, standardized construction, and rigorous testing, you can not only guarantee lighting effects but also significantly extend the lifespan of the LED strips, reduce maintenance costs, and ensure the safety of the space.
For more information on Recessed Floor LED Aluminum Channels, please contact us.
FAQs
Yes, but a professional installation team must first assess the structural load-bearing capacity of the floor. It is highly recommended to utilize a precision micro-grooving technique. And to take strict precautions to protect the finished flooring during the process.
It will certainly affect the installation results. Uneven ground can cause the aluminum channel to tilt. Leading to uneven stress on the diffuser cover—or even causing it to crack. We recommend using a screed bar to level the surface after cutting the recess and and using a spirit level to verify. That the aluminum channel lies on a single, flat plane before securing it in place.
Yes, they must be completely replaced. Once water enters the interior of the light strip. It can lead to corrosion, short circuits, or sections of the strip failing to light up. If water enters the connection ports. It is typically necessary to replace the entire light strip and re-apply the waterproof sealing.
We recommend a channel depth equal to the height of the aluminum channel plus an installation clearance of 2–3 mm. Naturally, the required installation depth varies depending on the specific aluminum channel model. Therefore, you should consult the product dimension drawings prior to formal installation.
High-quality PC or PMMA diffuser panels undergo UV protection treatment and generally do not yellow easily. However, for areas exposed to sunlight outdoors for extended periods. It is recommended to choose a “UV-resistant diffuser cover” type to extend its lifespan.