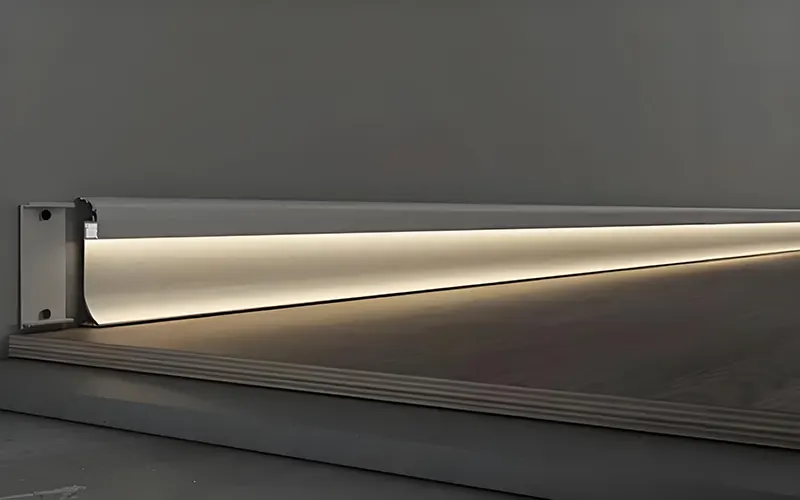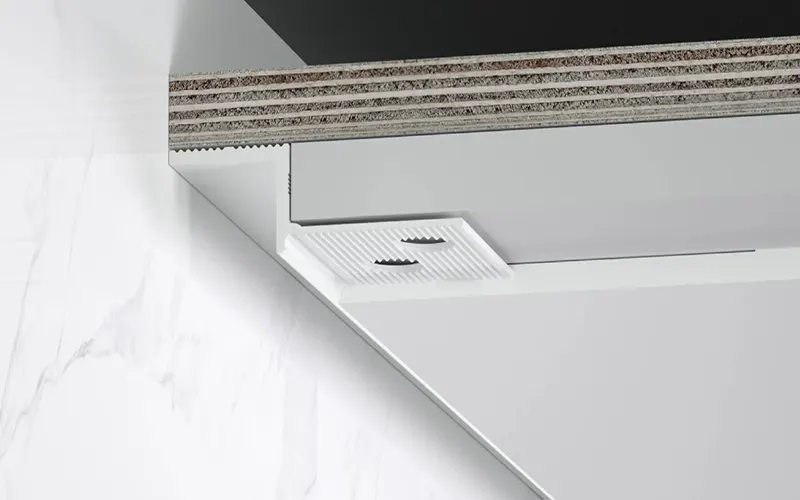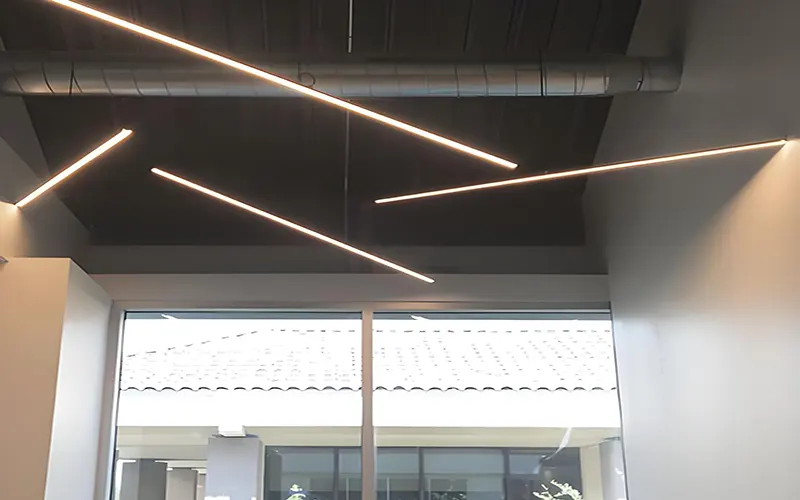
Installing lighting in corners can be challenging, often resulting in difficult installations or uneven illumination. For corner and angled lighting applications, V-shaped LED aluminum channel are the ideal choice. More details, pls check 2024 Ultimate Guide for LED Aluminum Profile
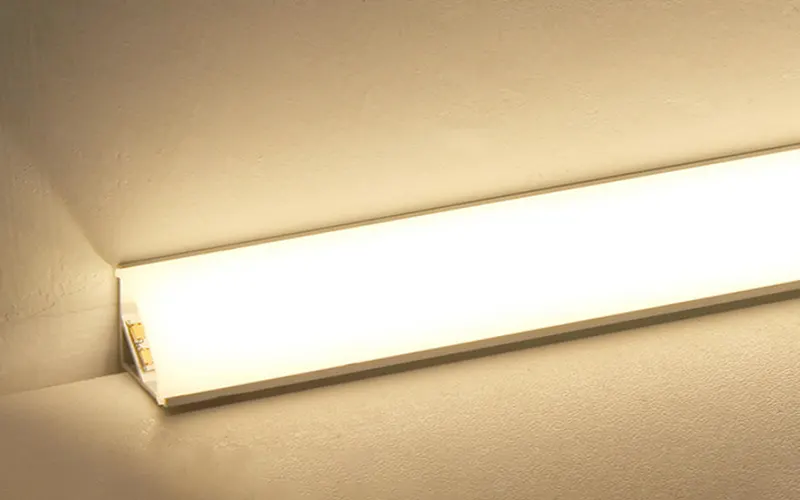
Unlike standard flat profiles, V-shaped profiles are specifically designed for corner installations—fitting perfectly into either 45° inside corners or 135° outside corners.
With this step-by-step guide, you will learn how to install V-shaped LED aluminum corner channels like a pro.
What Is a V-Shaped LED Aluminum Channel and Why Use It?
A V-shaped LED aluminum profile is an extruded aluminum alloy extrusion made from the same material as other LED profiles. It typically comes with a removable diffuser (available in clear, frosted, or semi-transparent finishes) and two end caps.
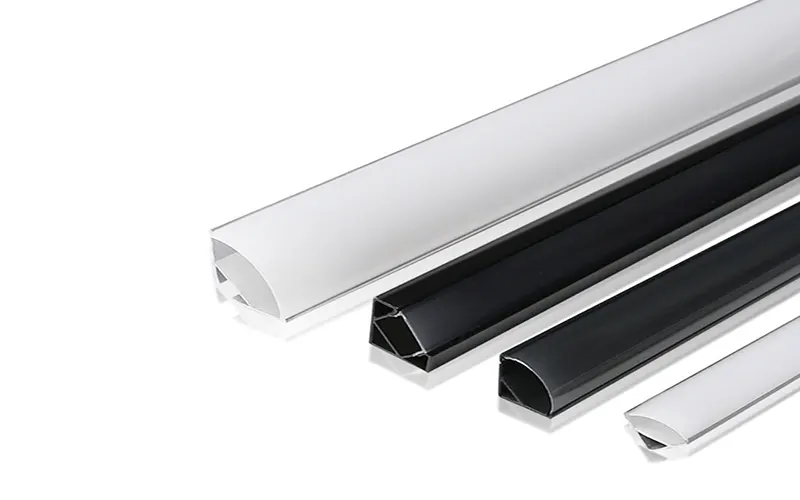
However, it features a unique internal angled design (commonly 90°, 45°, or 135°) that allows the LED strip to be mounted at a specific angle rather than lying flat.
When used for corner lighting, the profile fits perfectly flush into the corner. This creates a high-end lighting effect, forming a beautiful, clean line of light.
How Do You Install V-shaped LED Profiles? What Tools are Needed?
Before you start cutting or drilling, gather the necessary installation tools.
Core Components (Aluminum Channel Kit)
- V‑shaped aluminum channel (length to match your installation area)
- Opal or clear diffuser cover
- Two end caps (one may have a wire exit hole)
- Mounting clips or screw‑on brackets (included with most kits)
LED Strips and Electrical Components
- LED strip lights (12V or 24V; width must match the internal width of the aluminum channel)
- Power supply/driver (rated power should be at least 20% higher than the total power of the LED strips)
Tools/Materials Required for Mechanical Installation
- Tape measure and pencil
- Hacksaw or miter saw with a non-ferrous metal cutting blade (for cutting aluminum)
- File or deburring tool
- Power drill and small drill bit (2–3 mm, for pilot holes)
- Screwdriver (if using screws for fastening)
- Isopropyl alcohol and a lint-free cloth (for cleaning surfaces)
Optional Accessories (Select as needed)
- Thermal conductive tape (enhances heat transfer from the LED strip to the profile channel)
- Corner connector (pre-soldered, for 90° corner connections)
- Dimmer switch compatible with your LED strip
Pre-Installation V-Shaped LED Aluminum Channel: Measuring, Cutting, and Cleaning
Before installation, clean the mounting area. Next, measure the installation site; ensure all measurements are precise and accurate.
1: Precise Measurement
1: Measure along the intended installation path for the V-profile.
2: If installing in an inner corner (e.g., under a cabinet), measure the distance from one end of the cabinet to the other and subtract 2–3 mm from each end to allow space for the end caps.
2: Cut the V‑shaped channel
- Once the dimensions are determined, you can cut the piece to size. More details, pls read Cutting Aluminum LED Channels: A Comprehensive Guide
- Mark the cutting line using a pencil and a square.
- Use a hacksaw fitted with a fine-toothed blade (24 TPI or higher). For a smoother cut, a miter saw equipped with a carbide-tipped blade works exceptionally well.
3: Deburring and Cleaning
- Use a file or deburring tool to smooth the cut edges and remove sharp burrs.
- Wipe the inside of the wire channel using isopropyl alcohol and a lint-free cloth.
- Also, clean the mounting surface (wall, underside of a cabinet, or drywall) with alcohol.
Step 4: Pre-assembly and Trial Fit
- Place the cut profile channel in the intended position.
- Position the diffuser cover over it (do not snap it in place yet) and attach the end caps. Check that all components are properly aligned.
- This trial fit helps identify any dimensional errors before applying adhesive or securing the profile with screws.
- You are now ready to proceed with the installation.
Step-by-Step Guide to Mounting the V-Shaped Channel
There are two primary ways to secure your V-Shaped LED aluminum channel:
Mounting Clips (Recommended):
Screw the metal or plastic clips into the corner every 50cm (about 20 inches). Once the clips are aligned, simply “snap” the aluminum profile into place. This method allows you to remove the channel easily later if maintenance is required.
Direct Mounting
If you want the lowest profile possible, you can drill small pilot holes through the center of the V-shape and screw the channel directly into the cabinetry or wall. Ensure the screw heads are countersunk (flush) so they don’t interfere with the LED strip.
Installing the LED Strip Inside the V-Channel
- Test the LED strip: Before adhering it, connect the LED strip to the power supply to ensure every LED chip is functioning correctly.
- Apply the strip: Slowly peel off the backing (such as 3M tape) from the back of the strip and place it in the center of the V-groove. Press firmly along the entire length of the strip to ensure a secure bond with the aluminum heat sink.
Sealing and Diffuser Installation: Finishing Touches
- Attaching the Diffuser: Most V-shaped diffusers are designed to “snap” directly into the aluminum channel. Start at one end, pressing firmly while moving along the channel toward the other end; you should hear a distinct “click” when it is properly seated.
- Installing End Caps: Slide the end caps into the ends of the aluminum channel. Typically, one end cap features a hole for the power cable, while the other is solid—designed to seal the opening for a cleaner, finished look.
- Cleaning the Exterior: Wipe down the outer surfaces of the diffuser and aluminum channel to remove any fingerprints or accumulated dust from the installation process.
Installing V-Profile Channels: Common Mistakes to Avoid
Whether you are a first-time installer or have extensive experience, keep the following points in mind. Be sure to avoid these errors to prevent unnecessary issues.
- Mistake 1: Improper V-groove angle selection. Using a 45° groove on a flat wall surface looks awkward. Choose the groove type based on the corner: use a 45° or 90° groove for inner corners, and a 135° groove for outer corners.
- Mistake 2: Cutting the LED strip at the wrong location—failure to cut at the designated copper contact marks will render that section of the strip unusable.
- Mistake 3: Installing the diffuser without testing first; if the system is faulty, removing the diffuser later could cause it to break. Always perform a test first.
- Mistake 4: Installing the diffuser before testing—if you have a fault, removing the diffuser can crack it. Test first.
- Mistake 5: Ignoring voltage drop; for 12V LED strips exceeding 5 meters (16 feet) in length, brightness decreases towards the end. It is recommended to switch to 24V LED strips or power the strip from both ends simultaneously.
- Mistake 6: Insufficient power supply wattage. The rated power of the power supply (driver) should be at least 1.2 times the total power of the LED strip. Overloading the power supply leads to overheating and eventual damage.
Conclusion
Corner-mounted V-shaped LED aluminium channel offer an aesthetically pleasing lighting solution that transforms dark corners by housing exposed LED strips. After reading this article, you will have all the knowledge needed to complete this project. We invite you to purchase our recommended V-shaped LED aluminum profiles or download our latest product catalog.